Spring MVC InternalResourceViewResolver example
What’s internal resource views?
In Spring MVC or any web application, for good practice, it’s always recommended to put the entire views or JSP files under “WEB-INF” folder, to protect it from direct access via manual entered URL. Those views under “WEB-INF” folder are named as internal resource views, as it’s only accessible by the servlet or Spring’s controllers class.
The Spring InternalResourceViewResolver is used to resolve the provided URI to actual URI. The following example shows how to use the InternalResourceViewResolver using the Spring Web MVC Framework. The InternalResourceViewResolver allows mapping webpages with requests. In additional, it allow you to add some predefined prefix or suffix to the view name (prefix + view name + suffix), and generate the final view page URL.
Steps to create MVC ViewResolver:
- Create a project with a name TestWeb explained in the Spring MVC – Hello World Example chapter.
- Create a Java classes HelloController .
- Create a view file hello.jsp under jsp sub-folder.
- The final step is to create the content of the source and configuration files and export the application as explained below.
1. Controller
Controller class to return view named “”hello”, when someone enters http:\\localhost:8080\TestWeb\hello
|
1 2 3 4 5 6 7 8 9 10 11 12 |
@Controller @RequestMapping("/hello") public class WelcomeController extends AbstractController{ @Override protected ModelAndView handleRequestInternal(HttpServletRequest request, HttpServletResponse response) throws Exception { ModelAndView model = new ModelAndView("hello"); return model; } } |
2. InternalResourceViewResolver — TestWeb-servlet.xml
|
1 2 3 4 5 6 7 8 9 10 11 12 13 14 |
<beans xmlns="http://www.springframework.org/schema/beans" xmlns:context="http://www.springframework.org/schema/context" xmlns:xsi="http://www.w3.org/2001/XMLSchema-instance" xsi:schemaLocation=" http://www.springframework.org/schema/beans http://www.springframework.org/schema/beans/spring-beans-3.0.xsd http://www.springframework.org/schema/context http://www.springframework.org/schema/context/spring-context-3.0.xsd"> <context:component-scan base-package="com.learningsolo.spring" /> <bean class="org.springframework.web.servlet.view.InternalResourceViewResolver"> <property name="prefix" value="/WEB-INF/jsp/" /> <property name="suffix" value=".jsp" /> </bean> </beans> |
3. View — hello.jsp
|
1 2 3 4 5 6 7 8 9 10 11 |
<%@ page contentType="text/html; charset = UTF-8"%> <html> <head> <title>Hello World</title> </head> <body> <h2>${message}</h2> </body> </html> |
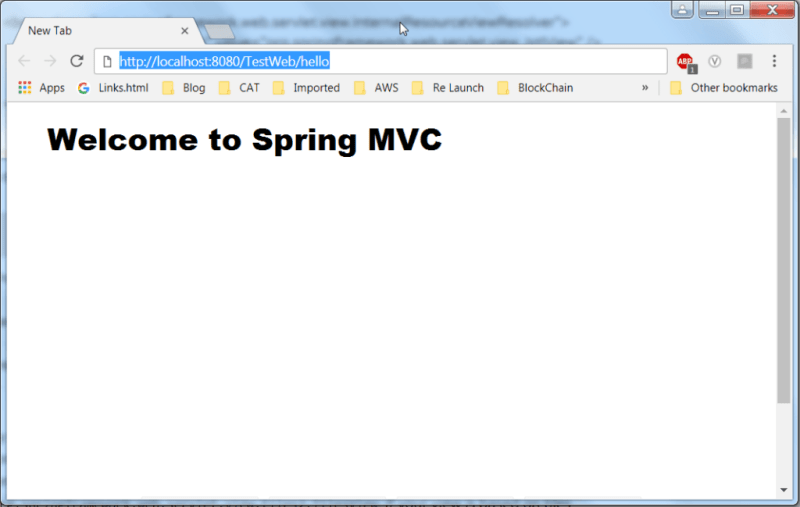
Now, deploy your application on Tomcat server and start your Tomcat server and make sure you are able to access other webpages from the webapps folder using a standard browser. Try to access the URL – http://localhost:8080/TestWeb/hello and if everything is fine with the Spring Web Application, we will see the following screen.


